Can You Grow Your Own Seeds in AeroGarden?
When I first shared my experience growing herbs in the Aerogarden harvest, I got one question over and over again:
Can you grow your own seeds in the Aerogarden?
Each Aerogarden model comes with some seeds to get you started (you can typically pick between a pre-selected set of herbs, lettuces, cherry tomatoes or flowers), but you can totally bypass those and grow your own seeds instead.
Today I’m going to walk you through, step by step, how to plant (almost) anything you want inside the hydroponic system!
ADVERTISEMENT
Quickly jump to a section:
Aerogarden Frequently Asked Questions
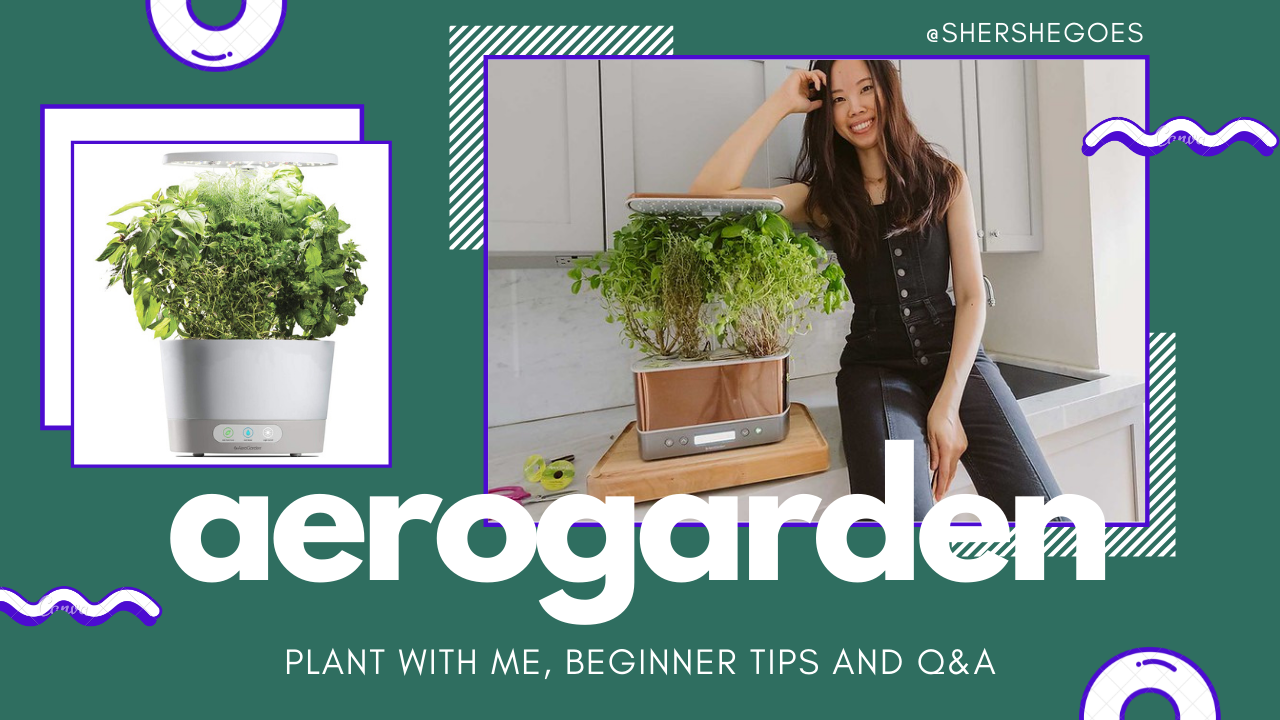
I also did a livestream on Amazon Live sharing my top tips for the Aerogarden!
I explained the difference between all the Aerogarden models, gave an update on my hot peppers and answered lots of FAQs! You can watch a recap of the video here.
Make sure to follow my Amazon shop page to join future livestreams!
Keep reading, or pin this article to save it for later ⇟
What Seeds Can You Use in AeroGarden?
If you typically garden outdoors, and you want to start seeds indoors in the Aerogarden and have them grow at a faster rate, you can use (almost) any seed in the units.
The LED lights are nice and strong, and can help speed up the process of germination, sprouting and seedling growth.
If you’re going this route, you might want to look into Aerogarden’s seed starting system. That allows you to start up to 50 seedlings at a time so you’re not limited to the size of the Aerogarden pod space.
Browse Aerogarden seed starting systems here.
ADVERTISEMENT
Do You Need Specific Seeds for AeroGarden?
On the other hand, if you want to know what you can grow entirely in the Aerogarden (meaning you won’t be transplanting them to other pots or outdoors), you are slightly more limited.
Some plants (for example, spinach) don’t like being grown in water and have a hard time growing.
Other plants (like tomatoes or large peas and cucumbers) can grow very tall and very large, and the size and height of the Aerogarden would be too limiting for a fully grown large plant.
ADVERTISEMENT
What is Best to Grow in AeroGarden?
So, what plants do the best in Aerogardens?
Herbs & Lettuces
Almost any kind of herb or lettuce does extremely well in Aerogardens. Berries can be done too, they just need a bit more work.
Herbs are essentially like weeds and they take off in the small hydroponic units. I love having fresh herbs to cook with, so if you’re just starting with an Aerogarden I recommend trying out various types of basil, cilantro, parsley, chives, etc!
Herbs will do really well in the small counter top models like the Sprout, Harvest or Bounty.
ADVERTISEMENT
Tomatoes, Peppers & Vegetables
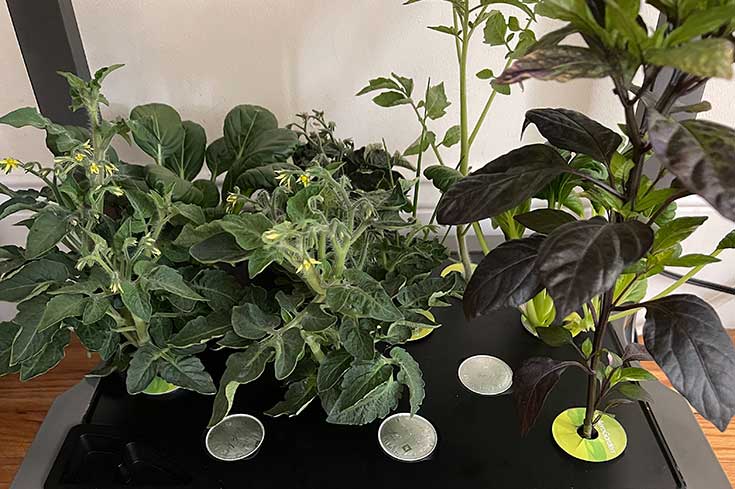
For veggies, I’m currently growing some cherry tomatoes and pepper plants.
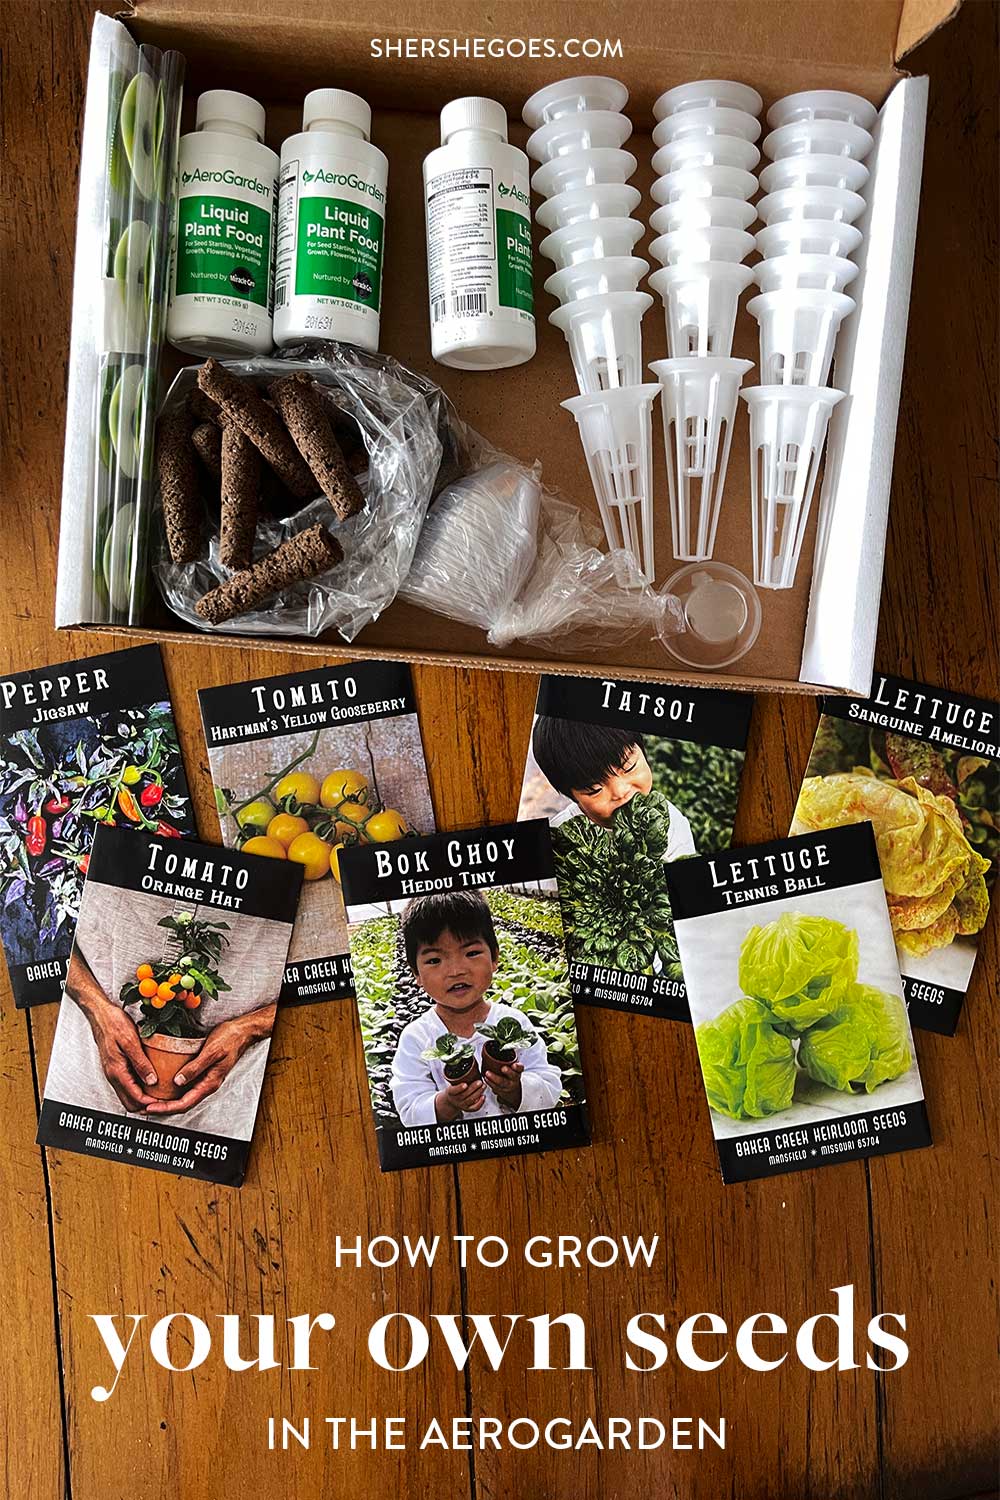
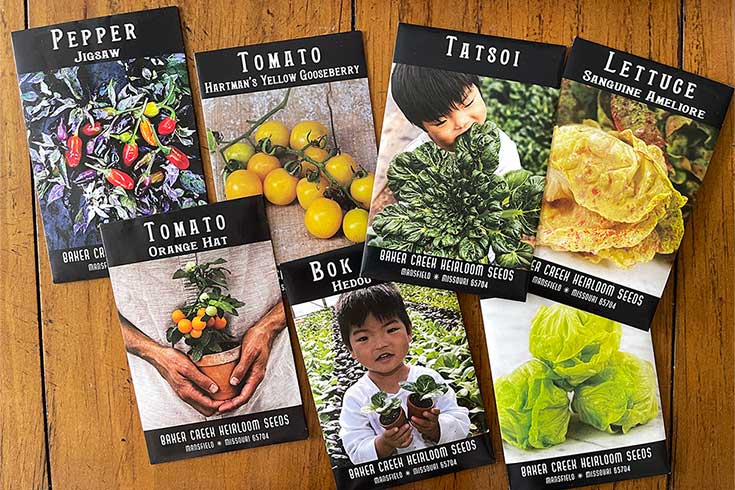
I have Orange Hat tomatoes (a dwarf cherry tomato variety) and Jigsaw Peppers (a stunning multi-color hot pepper). The Orange Hat tomatoes have really impressed me so far – they germinated very quickly, grow only to about 8 inches and have a ton of production!
Dwarf sized veggies like these would do well in the Harvest or Bounty models, as well as the Farm models.
I also started some Yellow Gooseberry Cherry Tomato plants.
I didn’t realize it at first, but it’s important to check if you’re buying indeterminate or determinate tomatoes. The Hartman gooseberryies seem to be indeterminate (meaning they don’t have a mature height and keep growing), so they push the boundary a little bit for an Aerogarden.
So, I’m experimenting with growing some inside the Aerogarden Farm and some that I’ve transplanted outdoors into soil!
I’ve also seen people grow cucumbers, squash, fairy tale eggplants and even small melons too! For any larger veggies like these, you’ll want to use the Aerogarden Farm models as they have much more room in the reservoir and a taller height capacity (24″ to 36″).
You can also try flowers, succulents or micro greens!
ADVERTISEMENT
Which Aerogarden Model Do You Have
With any kind of larger vegetable, you want to take note of how large the plants will get.
Tomatoes are generally too big but cherry tomatoes can work! Look for the words “dwarf” or “miniature” or “micro dwarf” and also consider which Aerogarden model you have.
I have both the Harvest, which is a small counter top model that has a maximum height of 12 inches, and the Farm XL, which is a large floor model that has a maximum height of 36 inches.
So as long as my cherry tomatoes are smaller varieties that will grow around 3 feet, I can plant them in the Farm XL.
Aerogarden sells a variety of different models which you can browse here.
They all range in the strength of the LED lights and their max height capacity, which is important to consider when choosing what to grow.
ADVERTISEMENT
What are the Best Lettuce Seeds to Grow in Aerogarden?
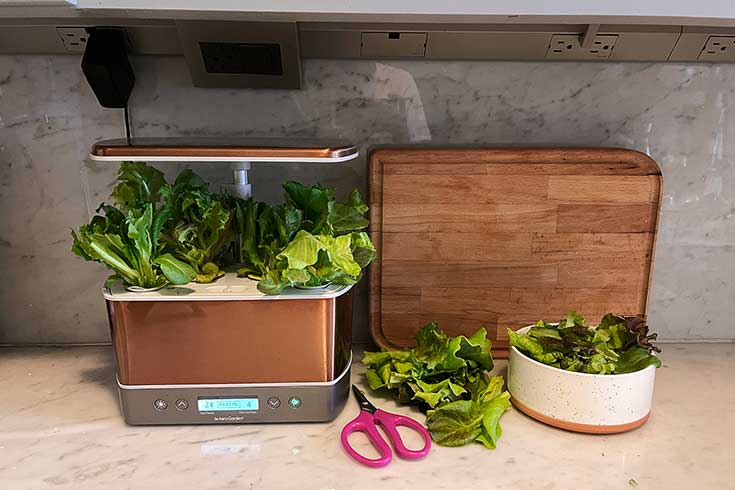
And finally, for greens, I’ve grown all different types of lettuce! I started off with Aerogarden’s heirloom salad greens which includes
- Deer Tongue
- Red Sails
- Black Seeded Simpson
- Parris Island
- Marvel of Four Seasons
- Rouge d’Hiver
And I’ve also grown Baby Bok Choi and Tatsoi. I love the baby bok choi!
I ordered most of my seeds from Baker’s Creek, but you can also find great heirloom seeds on Etsy!
Baker’s Creek has a great selection of heirloom vegetables, lettuces, flowers and so many colorful varieties that look so stunning.
I posted a vlog where I flip through the seed catalog, if you’re curious to see what they have available you can check out that video here!
ADVERTISEMENT
Aerogarden Pods
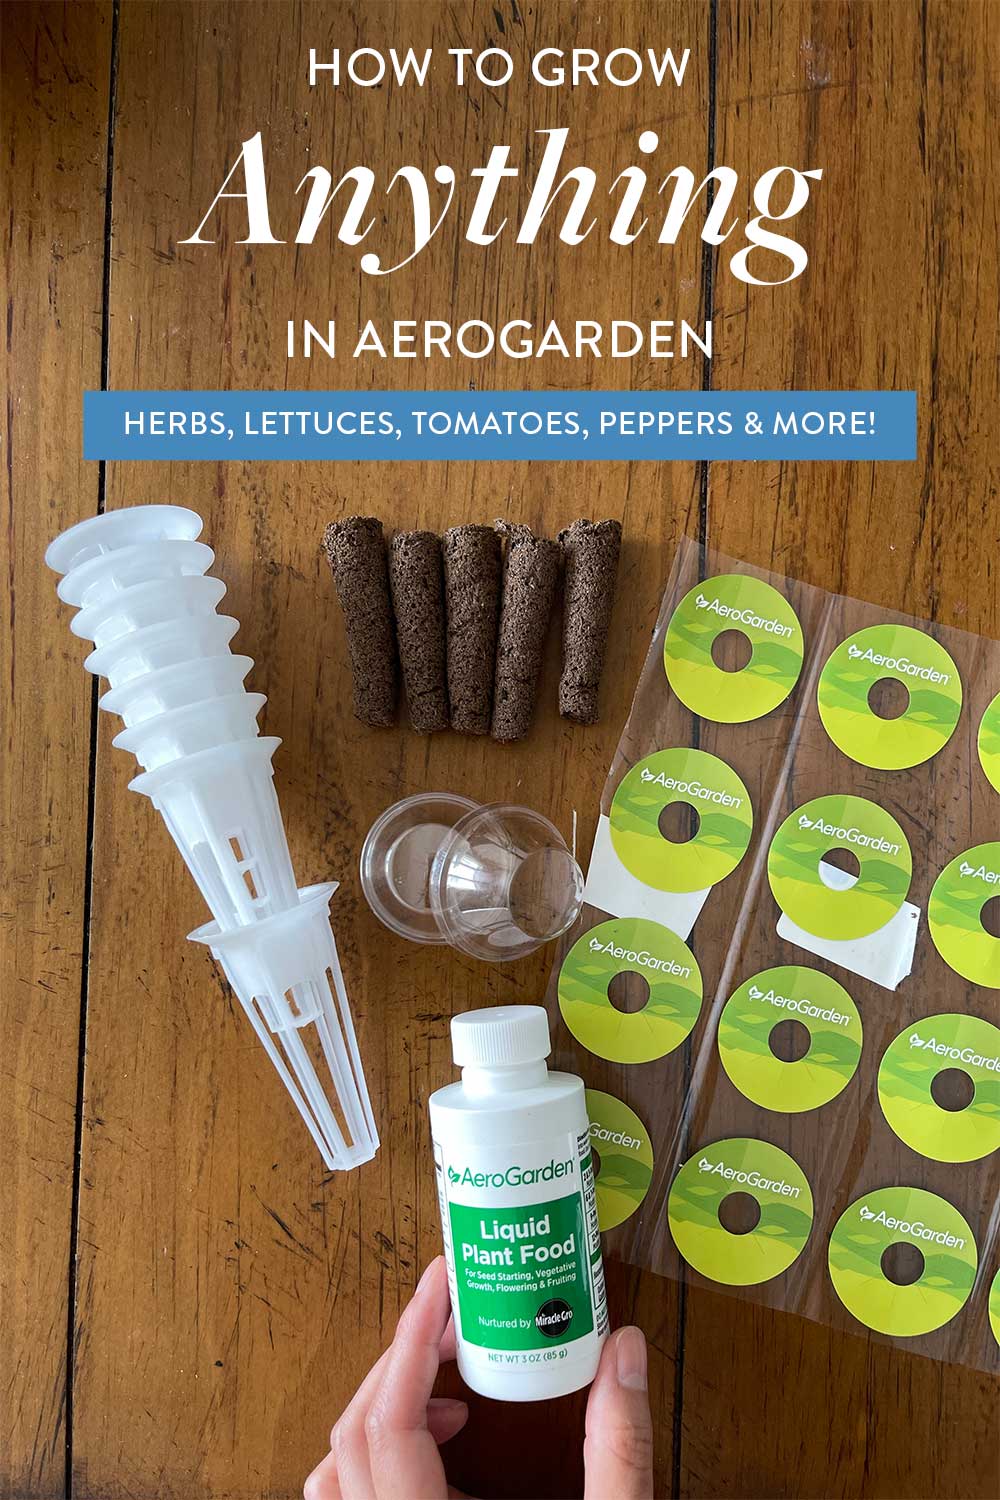
In order to grow anything you want, you need just a couple basic supplies.
Aerogarden sells a Grow Anything Kit which includes everything you need to get started quickly. The kits come in all different sizes, from 3 pods to 50!
You can find them on Aerogarden’s website here, or on Amazon here. Naturally, the larger the kit, the more cost effective it is per pod.
Buy Aerogarden’s Grow Anything Pods here.
Grow Anything Kit
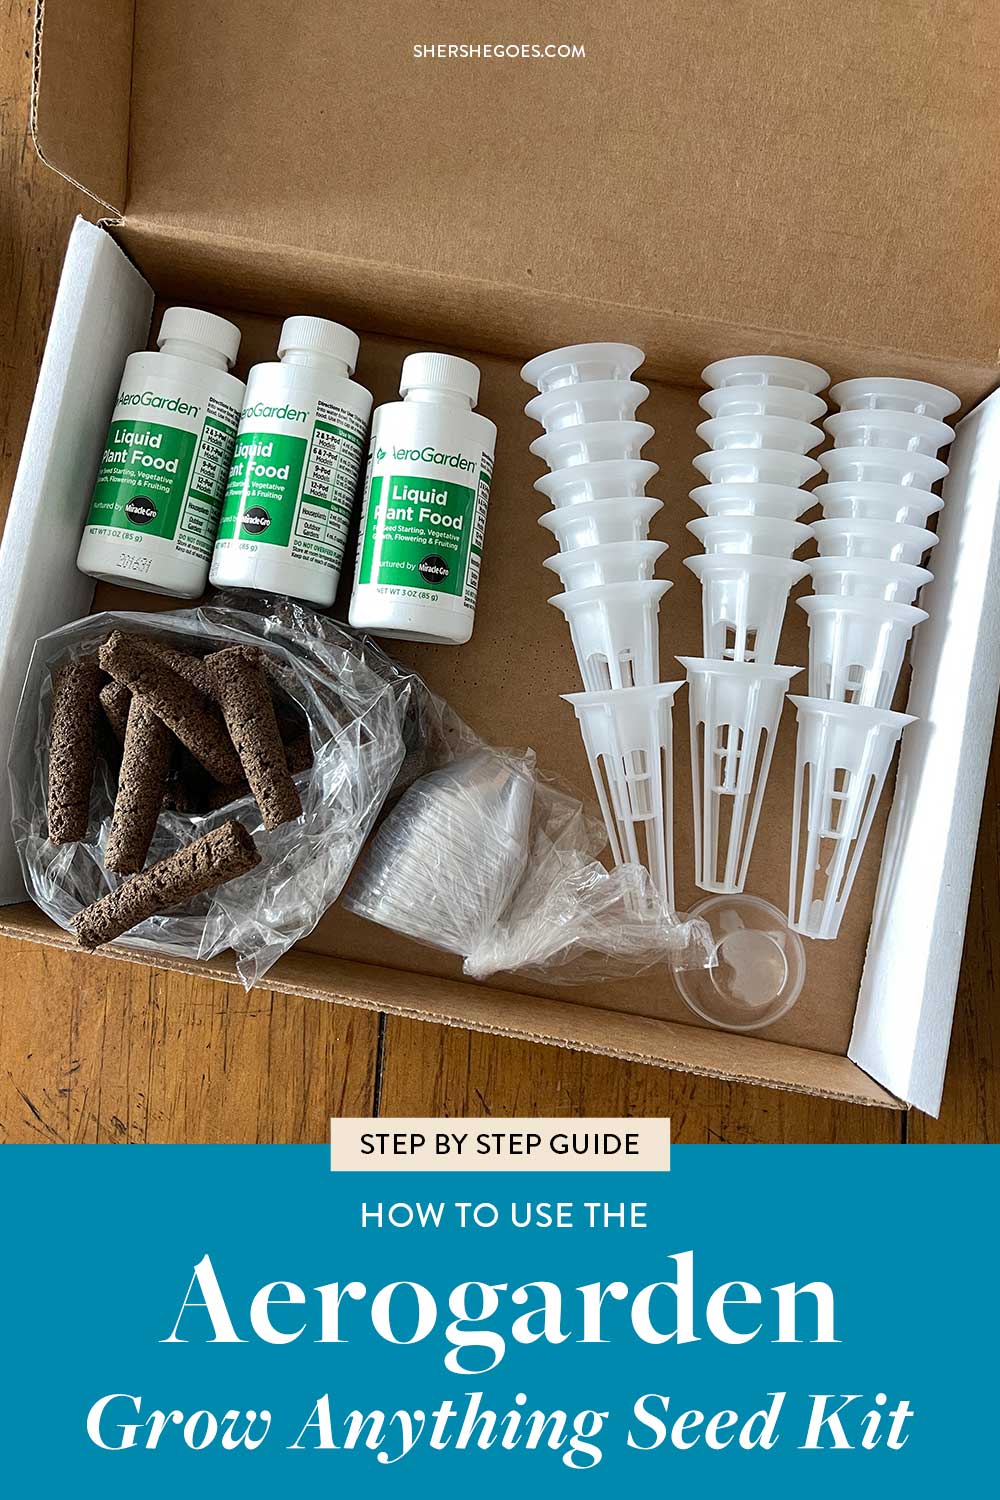
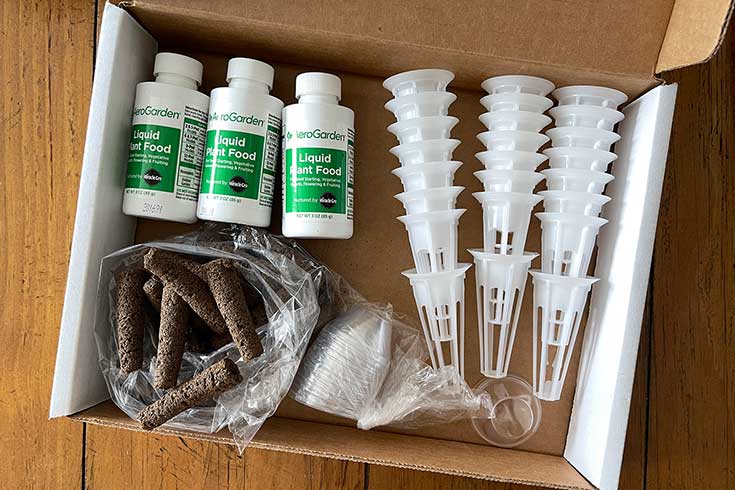
I purchased the 25 pod kit, and here’s what came inside:
ADVERTISEMENT
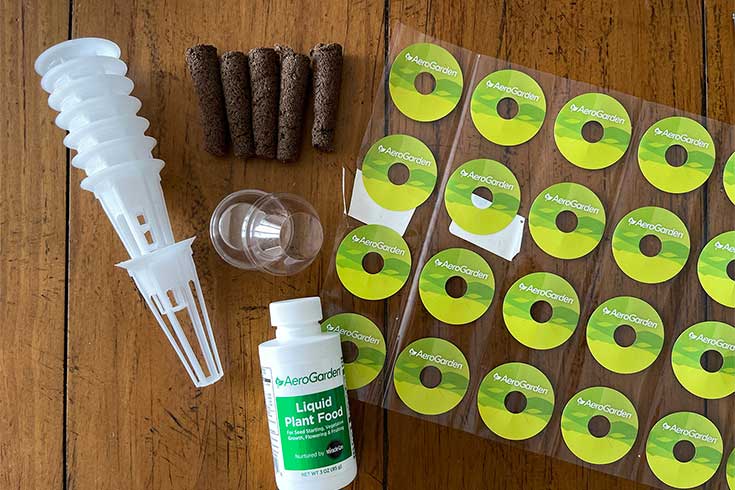
Plastic Pods
These are perfectly sized to fit within all the Aerogarden models.
ADVERTISEMENT
Dome caps
These are little plastic coverings that you place on the top of your pods. They help to trap heat and humidity to create a ‘greenhouse’ effect for the little seedlings.
You can definitely re-use these!
I made the mistake of throwing the dome caps away the first time i got the Aerogarden. I think it’s always good to try to re-use plastic if you can, so hold on to these!
ADVERTISEMENT
Grow Sponges
Since we’re not planting in soil, we need something to hold the seeds.
These sponges are made from Canadian peat and they’re great because they’re loose and airy. This ensures that the plants get a nice balance of water and oxygen.
If you’re on a budget you can also try using rock wool, which you can purchase on Amazon here. Rockwool is a little bit cheaper than buying Aerogarden’s grow sponges, but you do have to modify them by cutting them down to fit the plastic cages.
You can also buy just the grow sponges if you need extra. Personally, I think the aerogarden grow sponges are just a little easier to use out of the box!
ADVERTISEMENT
Labels
The Grow Anything Kit includes some blank labels so you can write what each plant is.
These aren’t just decorative – they help cover up the surface area of the pod to block out some of the strong LED lights and prevent algae from growing in the reservoir.
I like that are stickers, so they’re very easy to use! Just peel off and stick onto the plastic cages.
If you run out of these, you can order extra stickers as a standalone. I’ve seen some people with 3D printers make their own.
I like how easy the stickers are to use, but I haven’t found the right kind of pen or marker to write on them with yet. All of my handwriting keeps getting smudged off ha!
Ok, so that’s everything in the kit – pretty straight forward!
ADVERTISEMENT
How to Grow Your Own Seeds in Aerogarden
I created a video of the entire process from start to finish, which you can watch on Youtube here. Or, keep reading below for written instructions and more tips!
ADVERTISEMENT
First, soak the grow sponges.
Make sure the sponges are damp so that your seeds will have a faster and better rate of germination.
If you forget this step, it’s ok!
The aerogarden pump will slowly wet the sponges over time. But I did notice that seeds seem to have an easier time if the grow sponge is wet from the beginning.
ADVERTISEMENT
Use Tweezers to Pick Up the Seeds
Some seeds can be itty bitty tiny.
If you have good dexterity, you can just use your hands, or dab your finger in water to pick up the seeds.
I found it much easier to use tweezers though!
It can be hard to see the seeds inside the dark brown grow sponges once you’ve dropped them in, so tweezers (or a paint brush) help make sure you’ve definitely placed them inside.
ADVERTISEMENT
How Many Seeds Should You Plant Per Pod?
Usually, people put 2 to 3 seeds per pod to increase the likelihood of germination.
Once the seeds have sprouted, they’ll then thin out the plants by keeping the strongest and removing (or cutting) the others. You can try to gently separate the baby seedlings and grow them on they’re own.
Since I’m growing indoors and there’s no real time pressure, I like to just plant 1 seed per pod so that I don’t have to deal with the hassle of separating out the extra seedlings.
ADVERTISEMENT
Place the Seeds in the Grow Sponge and Set Aside
Prop them up vertically so the seeds don’t fall out!
ADVERTISEMENT
Label Each Pod
Aerogarden’s blank labels are really easy to use.
They’re stickers so you just literally write on them, peel them off and stick on the plastic cages.
I did find regular pens wouldn’t write on the glossy surface, so I needed more of a sharpie or gel-type pen. But then my fingers kept smudging the ink and by the end of it, most of my labels weren’t legible… ha.
When you stick the labels on the pods, try to line them up nicely with the perimeter. I realized later on that if i did a sloppy job sticking the label on, it affected how snugly the clear dome caps sat on the pods.
ADVERTISEMENT
Set Up the Aerogarden
It’s very easy from here!
If it’s your first time and you’re using a brand new Aerogarden, just fill up your Aerogarden with distilled water, plug in the machine and follow the screen instructions for setup.
If you’re re-using an old Aerogarden and are doing a new round of planting, make sure to clean and sanitize the machine first.
I have an in-depth post here on how to do that, or you can watch my vlog here where I show the process.
If you’re growing larger plants, keep in mind their space requirements. Cherry tomatoes need a lot of room and can easily take up an entire counter-top Aerogarden.
ADVERTISEMENT
Tips on Spacing
And finally, a couple last tips!
A good rule of thumb is to plant 1 cherry tomato pod per 3 or 4 spaces. Likewise, peppers also need some room and it’s recommended to plant 1 pepper per 2 to 3 spaces.
If you’re using the Aerogarden as a seed starting system and will eventually transplant elsewhere, you can fully maximize every slot in the beginning.
I tried planting lettuces with the cherry tomatoes and peppers, since I knew the lettuces would be done in about a month or so, and that I could remove them to give the tomatoes and peppers space once they were larger.
But I wouldn’t recommend growing full size lettuces and tomatoes together on a long term basis (once the tomatoes start to flower), as they have different nutrient requirements.
ADVERTISEMENT
Make Sure to Cover Any Blank Spaces
Make sure you cover any unused slots.
Otherwise, algae will quickly grow and affect your plants!
Aerogarden sells black spacers that perfectly cover up the holes and look nice and uniform.
I’ve heard that golf balls work really well. I used tennis balls at first, until a friend came over and her dog made a bee line for the Aerogarden haha! It thought the tennis balls were there for it to play fetch with.
Then I switched to using Nespresso pods which were a genius find, if I say so myself.
They fit perfectly in the holes when placed upside down, and they’re flat so they look pretty subtle!
ADVERTISEMENT
That’s it! It’s very easy to grow your own seeds in the Aerogarden. If you have any questions, let me know in the comments!
Also, I’d *love* to know if you’ve grown anything unique or eye-catching in your Aerogarden. Send me a photo on Instagram!!
Shop Aerogarden and Hydroponic Kits
ADVERTISEMENT
Read More: in our Indoor Hydroponics series:
Aerogarden
Is the Aerogarden Worth It? Harvest Review
How To Guides
How to Easily Clean & Sanitize the Aerogarden Between Plantings
How to Assemble the Aerogarden Farm XL *Tips + Tricks*
How to Grow ANYTHING in the Aerogarden!
Sounds like you have to purchase new pods every time you want to start a new seed. Sounds expensive.
Author
the pods are pretty affordable and you can even 3D print your own!
Hello, have you planted tiny seeds like celosia flowers and had luck?
Author
Hi Laura – haven’t planted celosia flowers specifically, but I’ve planted tiny seeds, giant seeds, etc and everything works!
Any suggestions for how many seeds to use when planting butter lettuce and chives?
Author
for lettuce, try 3. usually lettuce germinates very easily.
chives can be finicky – i usually plant 10+ because they take a while
Hi Sher.
Thank you for sharing your AeroGarden knowledge. I am an old gardener, but hydroponics is new to me and I appreciate the experienced advice you share. I inherited an ULTRA LED that works with some parts I rigged up. I also enhanced it by adding an airstone w an airpump. I have the seed starter and bowl top along with the seven pod standard top, but the water access cover is missing on the standard top. I no longer have access to a 3D printer(I did before retiring from teaching). I note you mentioned people that 3d print the labels and pods. Do you know of anyone that can print out the water access cover for the 3 pod AeroGarden Ultra top?
Author
Hi Bruce – check Etsy, a lot of ppl will sell their aerogarden 3d printer inventions on there!
or, you can try posting on reddit in the r/aerogarden group. maybe someone on there has a 3d printer with a blueprint for the older models and can help you out.